Create New Custom Skins
General
- Get decent graphics software (e.g. GIMP, Photoshop®).
- For examples, check the "Skins" folder in the EncryptDrop program folder
(e.g. C:\Program Files\EncryptDrop\Skins)
Bitmap File
- Bitmap (.bmp) file defines the shape of the custom skin
- Bitmaps must have single color defined as the "transparent" color. This color is then "filtered out" on load
- Save your bitmaps as 24bit images
.ini File
File/Folder structure
- Create a new folder for your skin under the "Skins" folder
- Make sure your .ini filename matches the with the name of the new skin folder
- The name of the bitmap file can be anything as long as you edit the bitmap_file key in the .ini file accordingly
  Example:
  	C:\Program Files\EncryptDrop\skins\Sample
	C:\Program Files\EncryptDrop\skins\Sample\Sample.ini
	C:\Program Files\EncryptDrop\skins\Sample\Image.bmp
Debugging
- Restart EncryptDrop
- Select your new skin from the "Appearance: Window Skin" box,
it should be now listed there if you followed the above instructions
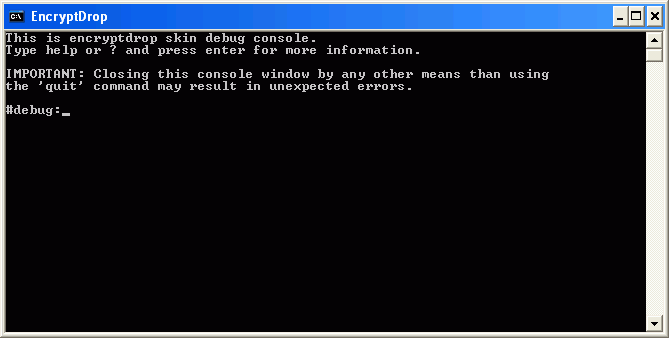
- Wait that new skin is applied and then hit F5 (be sure you select the program window first - left-click it)
- Once the console is open, type ? and hit enter. The rest should be self-explanatory

We are always looking to add custom skins to the EncryptDrop website. If you would like to see yours
listed there, please e-mail it to support@righteoustech.com.
Please note that each skin will go through a manual validation process and must be
accepted by us before we can post them on the website.
HOME | BACK | NEXT
